ESP Rainmaker
This tutorial will show you how to use ESP Rainmaker integration in this extension.
You need to have a Espressif device and a ESP Rainmaker Account, if you don’t have these please refer here.
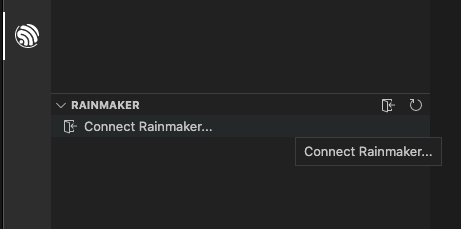
Click the ESP-IDF Explorer in the Activity bar. On the Rainmaker section, click the Connect Rainmaker.
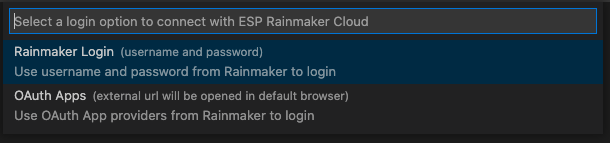
You will be prompted for the authentication method to connect with Rainmaker, either using the Rainmaker account user and password or with an OAuth app like Google, Github or Apple.
Note
For OAuth to work properly, you will be asked to provide permission to Visual Studio Code and the broswer to open Visual Studio Code back once the OAuth flow is done.
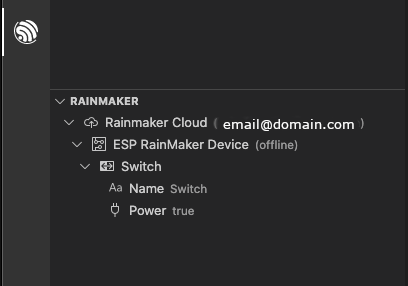
You will see a list of nodes associated to the account here. Next to the account name there is an Add new node and Unlink Rainmaker account icons. Next to the device there is a Remove this node icon. Below you can see the type of rainmaker device (for example Switch) with a set of parameters that you can modify such as Name and Power with the Update param for this device icon.